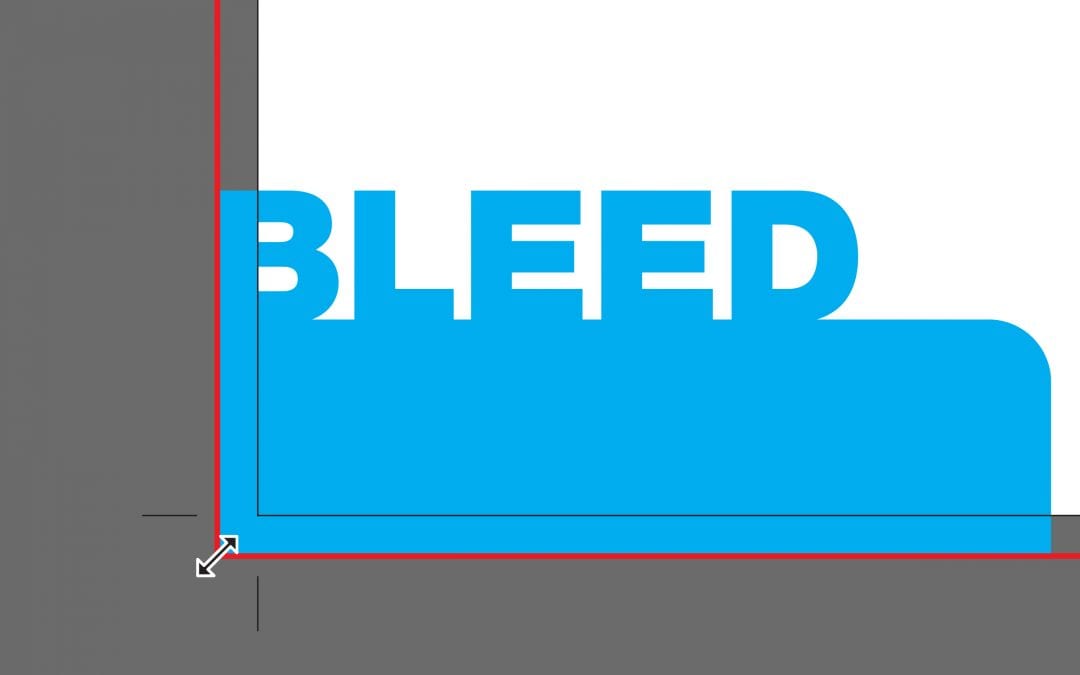
You’ve got a sweet business card design equipped with your brand new logo. Your company essentials are about to be contained on a little rectangular card, duplicated hundreds of times. You’re ready to upload this work of art so the printer can bring it to life.
All of your hard work suddenly comes to a screeching halt with the error code: “the art has no bleed.”
What the heck?!
You double check the dimensions. They’re good. The colors? On point. You even thought of uploading the PDF document, so what’s the holdup? What the heck is “bleed”?
What is Bleed?
“Bleed” is what designers like to call the extra 1/8″ around the edges of your design. Overall your design will be 1/4″ bigger horizontally and vertically due to adding the additional space on each side. Adding bleed to your design protects its integrity from human and machine error.
Let me elaborate…
Why the Bleed?
Here is what happens when your design reaches the printer: the artwork is set up on a larger sheet of paper so several business cards can be printed per sheet (ultimately saving you a good amount of cash). Once this large sheet is printed, each card needs to be cut down to size.
This is where the importance of the bleed comes in: nobody is perfect. Neither human nor machine. They can be close, even really close, but never perfect. The bleed saves the day by masking any imperfect cuts.
If your design is made to the exact size of the final product, any tiny movement made during the cutting process will make your final product look off center. You could end up with a white line on the edges. The shape, color, or text that you want touching the edge of the final product has to be extended past the edge itself, all the way to the bleed line.
Add the Bleed!
That blasted error code just saved you a serious printing headache. Give it some thanks and then make the simple change of adding bleed to your design.
Need some help with perfecting the bleed? Blackwood has you covered from initial design to ready-to-print and all the details in between.

